

Before you start
- An account with billing enabled and a project to put the cluster in
- A rough idea of the workload size — you can scale pools any time
Steps
1
Open Kubernetes and click New cluster
In the dashboard, go to Kubernetes and click New cluster.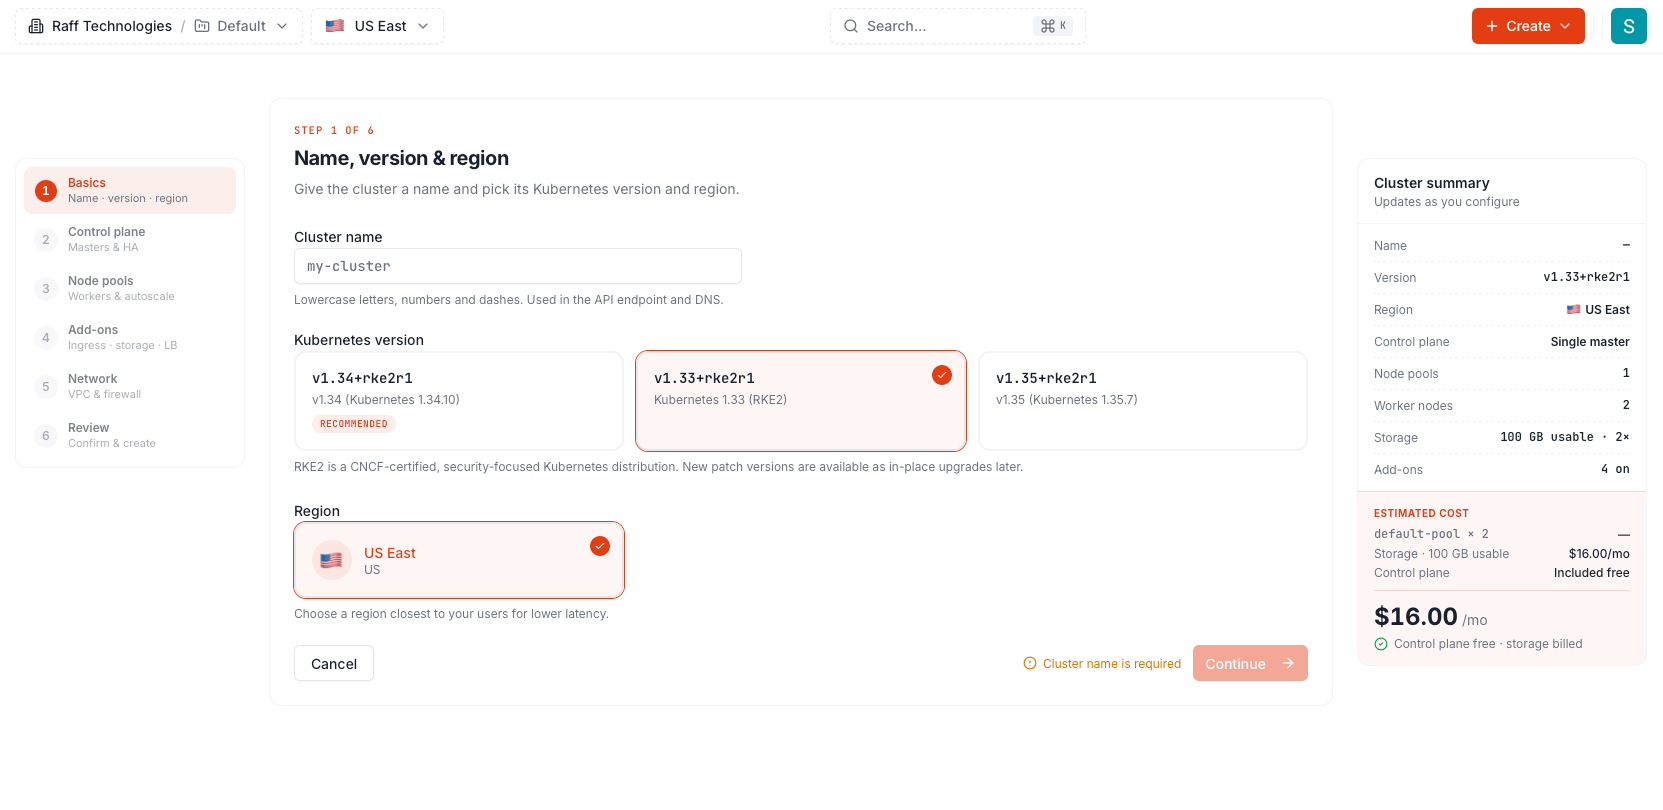
2
Name the cluster and pick a version
Names are 1–63 lowercase letters, digits or hyphens, unique in your account. Leave the version on the default unless you need a specific one.
3
Choose the control plane
The standard control plane (1 node) is free. Pick High availability · 3 masters for $30/month — recommended for production. See Control plane & HA.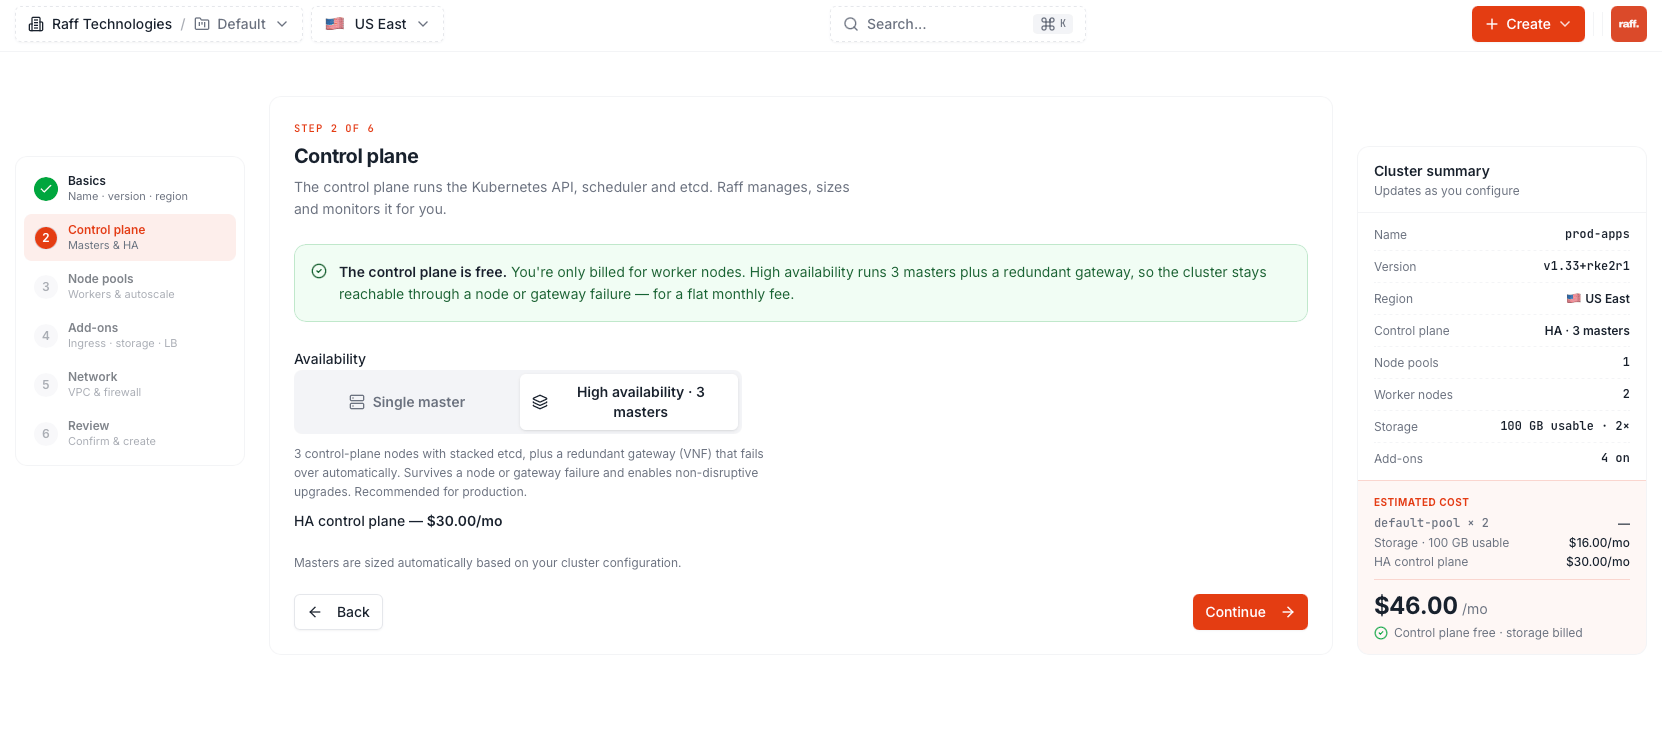
4
Configure node pools
Pick a worker plan and node count for the first pool. Add more pools for mixed workloads — each pool can use a different plan or tier — set labels and taints per pool, and enable autoscaling with min/max bounds if you want the cluster to size itself.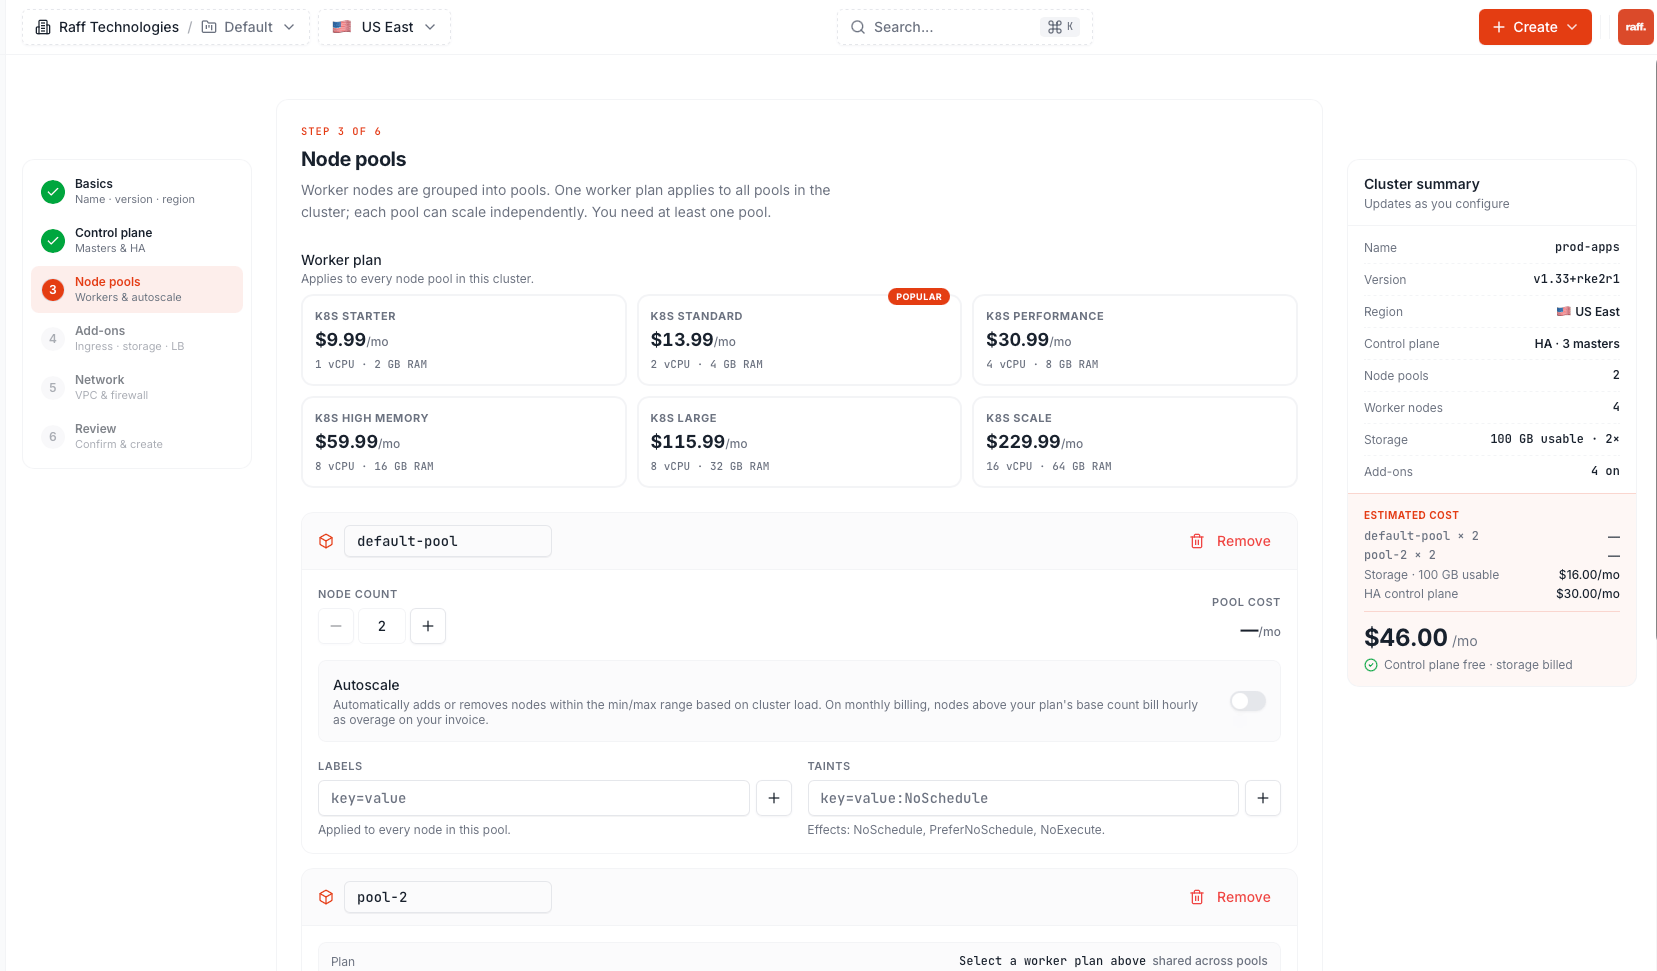
5
Pick add-ons
Cilium CNI and persistent storage (the 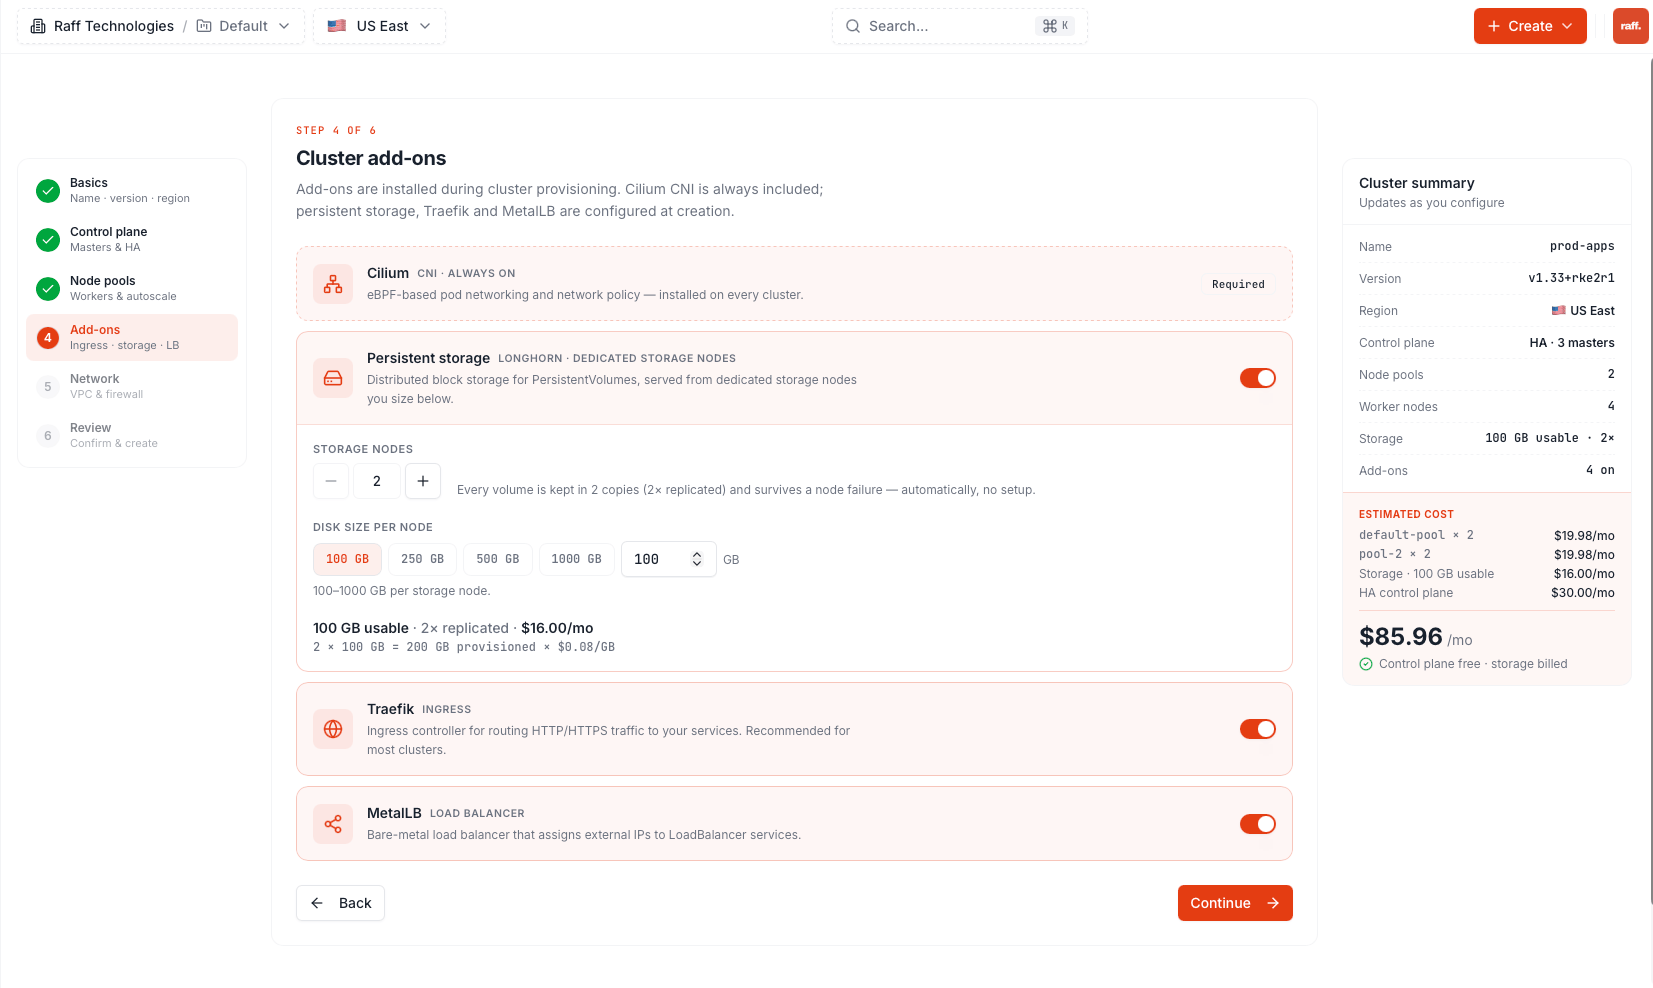
raff-block storage class — PVCs are billed per GB as you create them, nothing to size here) are always included. Optionally enable Traefik (ingress) and MetalLB (LoadBalancer services). Defaults are fine for a first cluster.6
Choose the network and firewall
The cluster gets its own VPC automatically, or pick an existing one. The managed firewall applies a security group to the cluster’s public entry point — the baseline 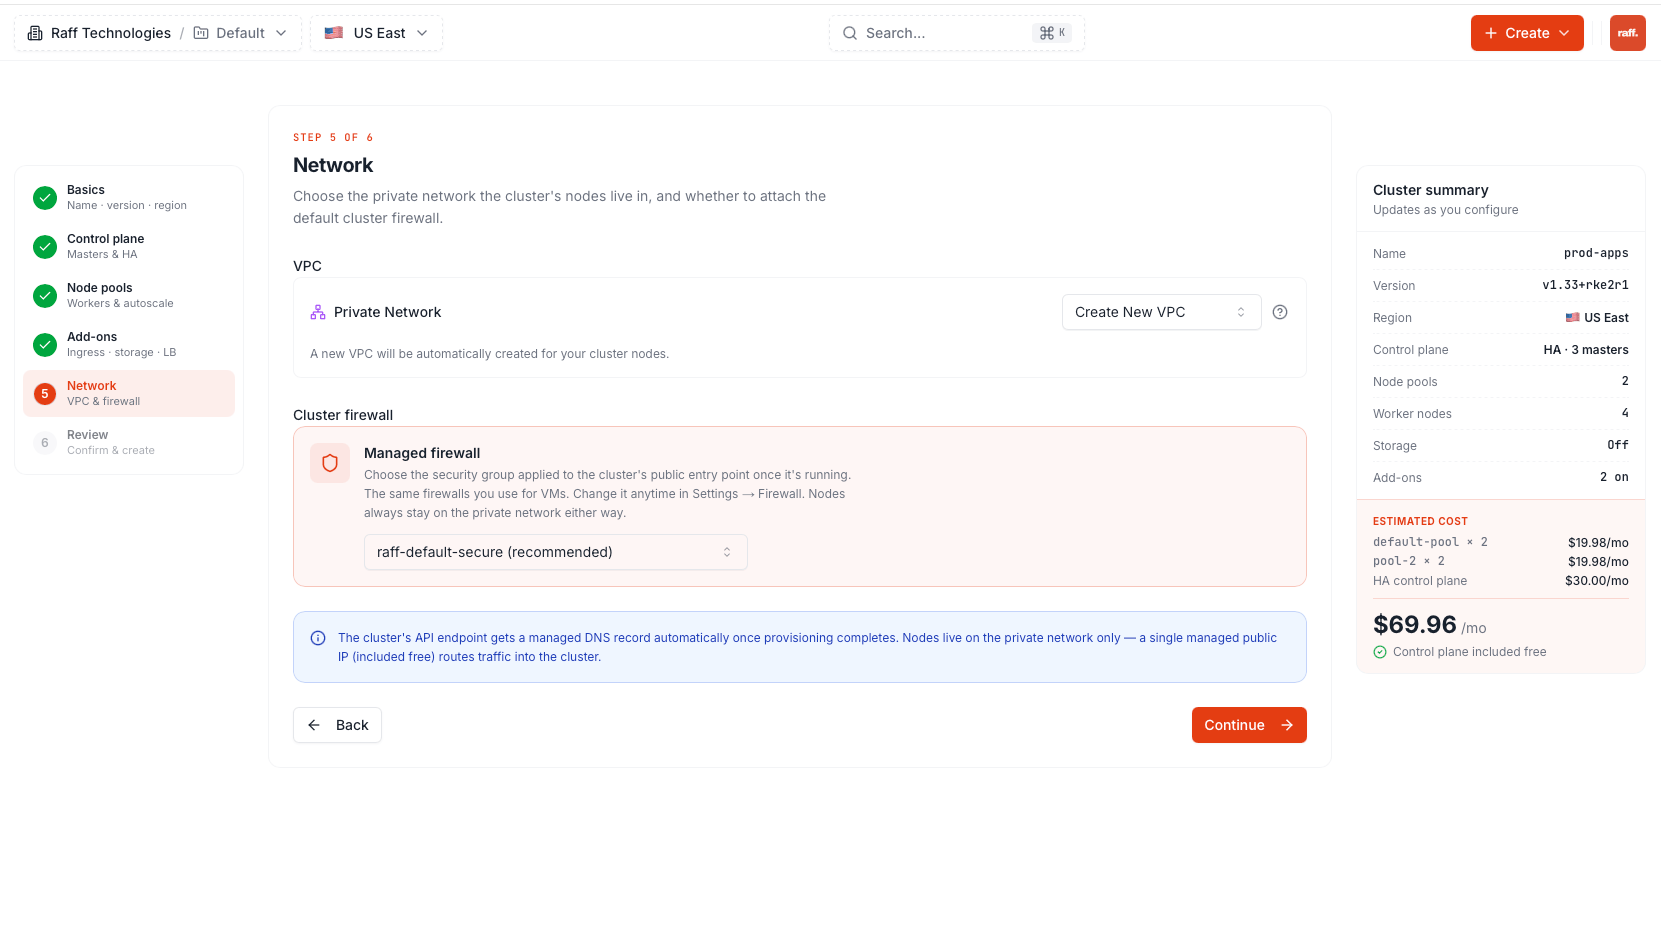
raff-default-secure opens 80, 443 and 6443 only. You can change it any time in Settings → Firewall.7
Review and create
The summary shows every choice and the exact monthly price before you confirm.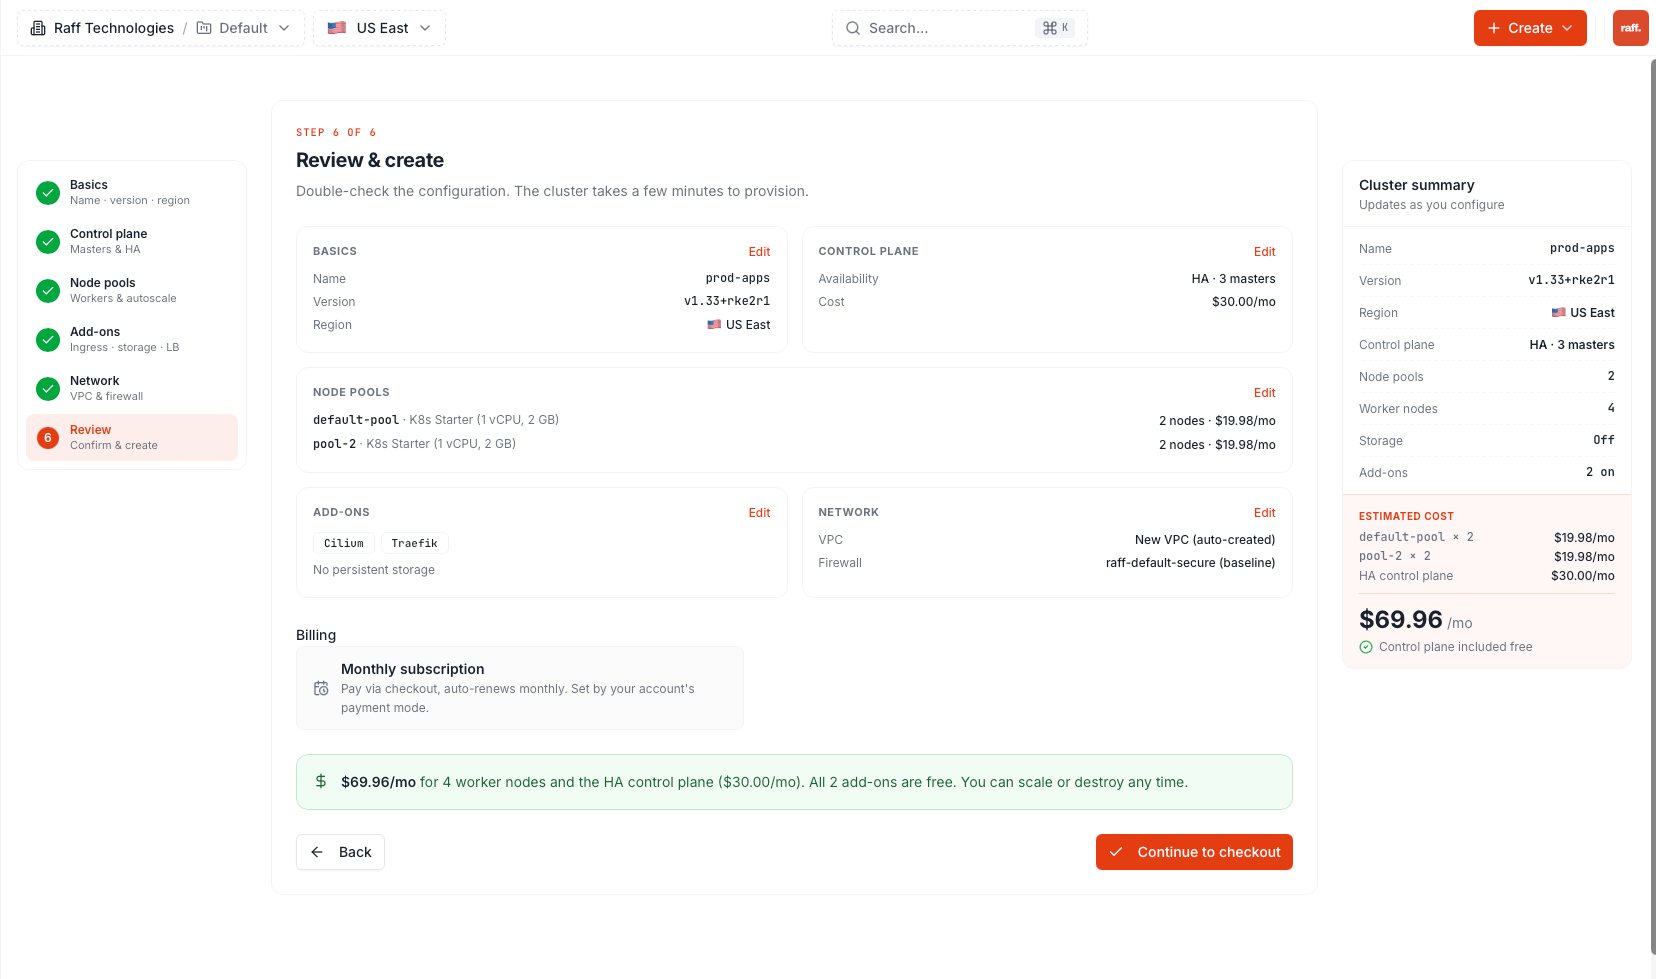
Verify
The cluster page shows live provisioning events. When the status badge turns Running and every pool shows running, the cluster is ready — download the kubeconfig and connect with kubectl.Next steps
Connect with kubectl
Download the kubeconfig and deploy
Create via API
Automate cluster creation with the REST API