

Steps
1
Open Settings
On the cluster page, open Settings and find Kubernetes version. The card shows your current version and the available targets — minor versions are offered sequentially (1.33 → 1.34, no skipping).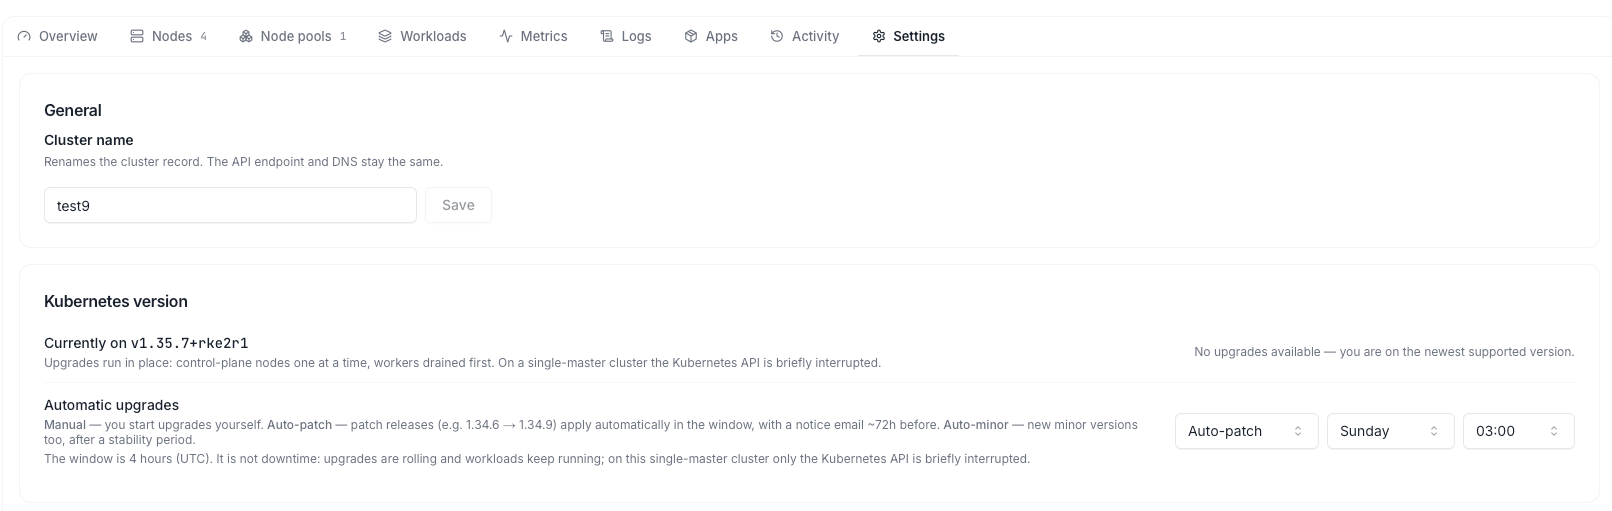
2
Choose a version and upgrade
Pick the target version and click Upgrade. Confirm the dialog — on a single-master cluster it warns about the brief API interruption.
3
Watch the progress
The header shows an Upgrading badge and the Activity feed reports each node as it moves to the new version (“2 of 5 nodes upgraded”). A 5-node cluster typically takes 5–15 minutes.
Verify
When the badge clears, the cluster header shows the new version, andkubectl get nodes lists every node on it:
Automatic upgrades
In the same Settings card you can switch the upgrade mode:- Manual (default) — you start every upgrade yourself.
- Auto-patch — patch releases (e.g. 1.34.6 → 1.34.9) apply automatically in your weekly maintenance window, with a notice email ~72 hours before.
- Auto-minor — new minor versions too, after a stability period.
When a version reaches end of life, remaining clusters are upgraded automatically in their maintenance window regardless of mode. You are emailed 60 and 14 days before. See Supported versions.