

Steps
1
Open the pool's scale control
On the Node pools tab, use the +/− stepper on the pool card, or click the count to open the scale dialog with a cost preview.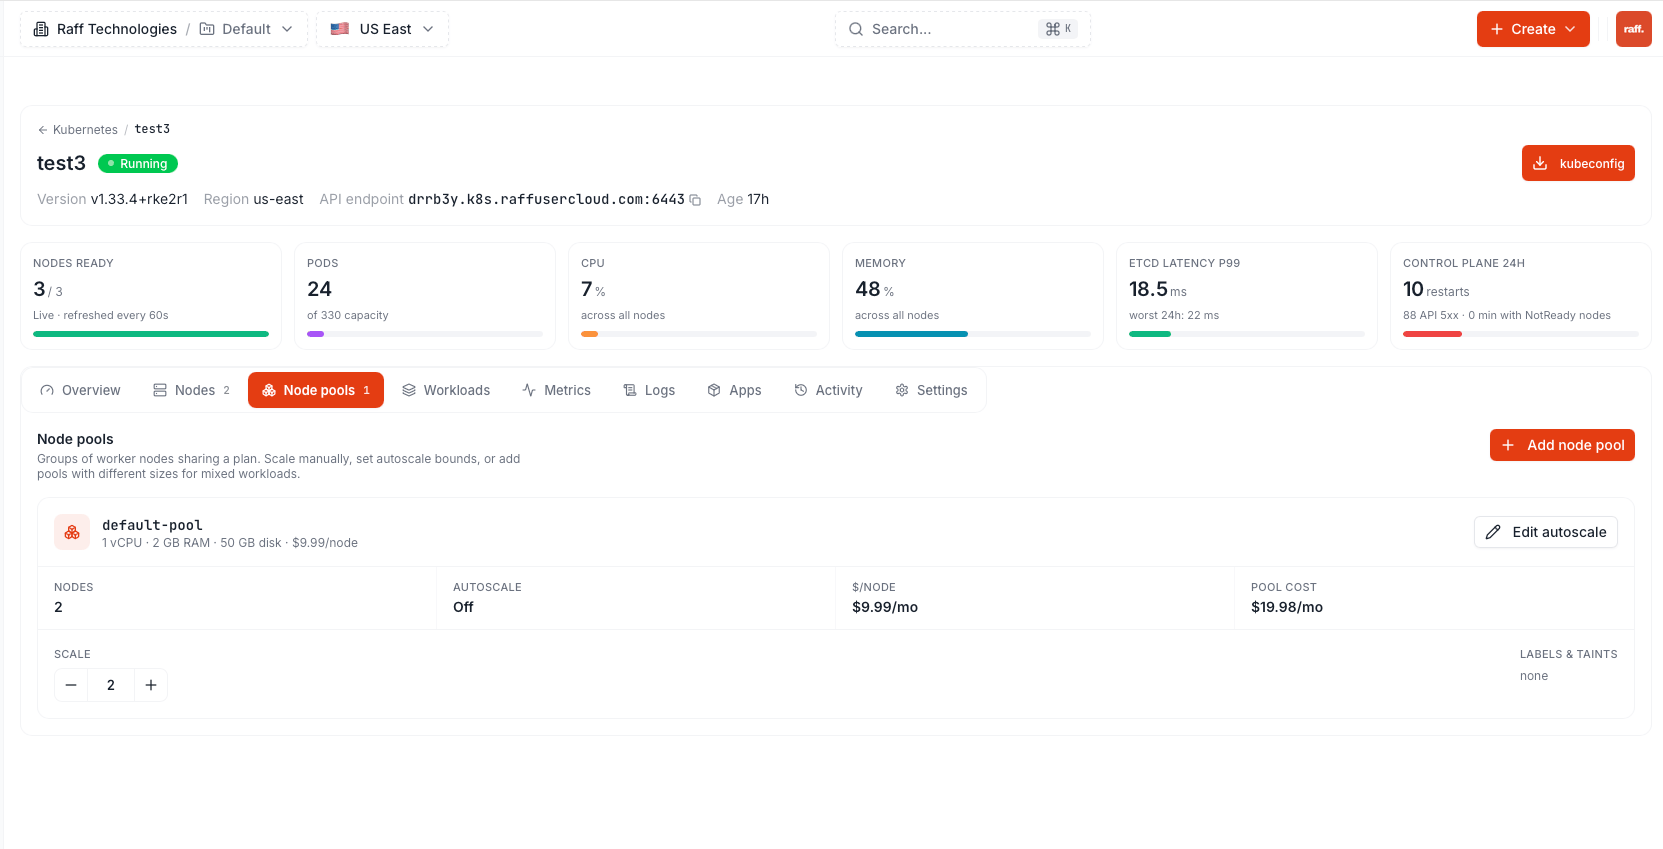
2
Confirm the new count
Scale-up deploys new nodes (~3 minutes each). Scale-down runs in the background: newest nodes are drained one at a time, then removed. The pool shows a Scaling badge until it settles.
Zero-downtime rule: a node is only removed once every pod on it has been evicted. If a PodDisruptionBudget blocks eviction for 10 minutes, scaling stops, the node is restored, and the pool’s status message names the blocking pod. Workloads with a single replica still restart during scale-down — there is no second copy to serve while the pod moves; run 2+ replicas for anything that must stay up.
Autoscaling
Enable autoscaling per pool with min/max bounds (Edit autoscale on the pool card). The autoscaler adds nodes as soon as pods can’t be scheduled for lack of CPU/memory, and removes one when a node’s pod requests stay under 50% for 10 minutes and its pods fit elsewhere — always inside your bounds, with at most one scale-down per 10 minutes.Next steps
Node pools & autoscaling
The rules the autoscaler follows
Scale via API
Automate scaling with the REST API